Karthik Tech Blogs
Gradio Tutorial
I recently had a POC to present to my team. It was an image similarity project in the retail space. I was looking for a simple tool to demo the top N similar image for a given query image. I did not want to spend much time in learning the tool, but I started with Streamlit, since it was famous than Gradio. Streamlit is a good package, which provides controlled options to build but requires steep learning curve to make necessary changes. I chose Gradio for my image similarity demo over Streamlit because it was simple to implement for my use case. On the other hand, I faced some issues because I was using it in my office laptop because of some network accessibility restrictions, so be prepared. It worked flawlessly in my personal laptop.
My use case is as follows:
- Take an input image
- The image needs different augmentations
- Returns five most similar images.
Installation:
Need Python > 3.7 version
pip install gradio
Let’s create a simple application that takes input image and returns 90 degree rotated image
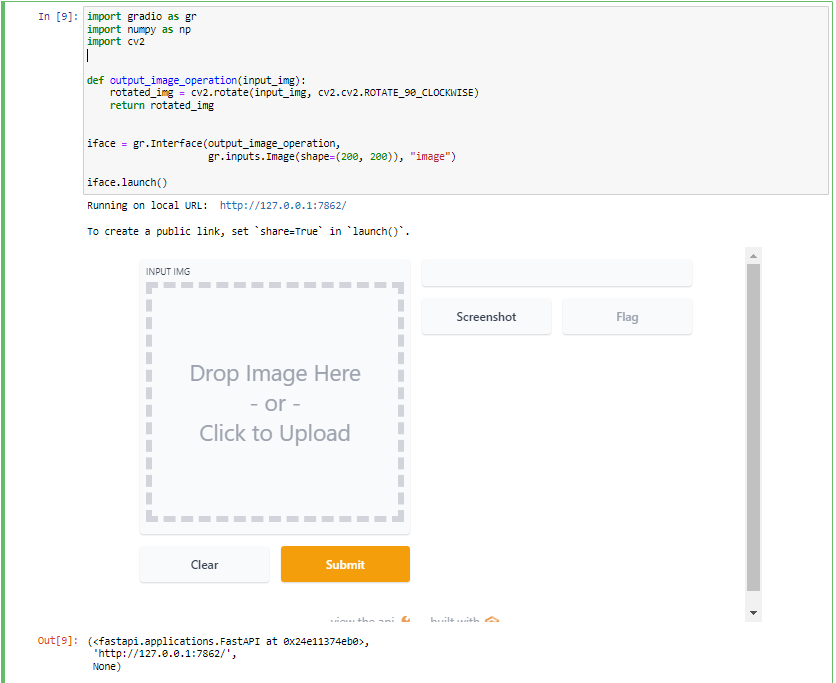
The problem with the above code is, whenever you execute this code, it runs on a new port. To avoid it, we must close all the active port connections before starting.
import gradio as gr
import numpy as np
import cv2

# close all open ports
gr.close_all()

def output_image_operation(input_img):
    rotated_img = cv2.rotate(input_img, cv2.cv2.ROTATE_90_CLOCKWISE)
    return rotated_img


iface = gr.Interface(output_image_operation,
                     gr.inputs.Image(shape=(200, 200)), "image")

iface.launch()
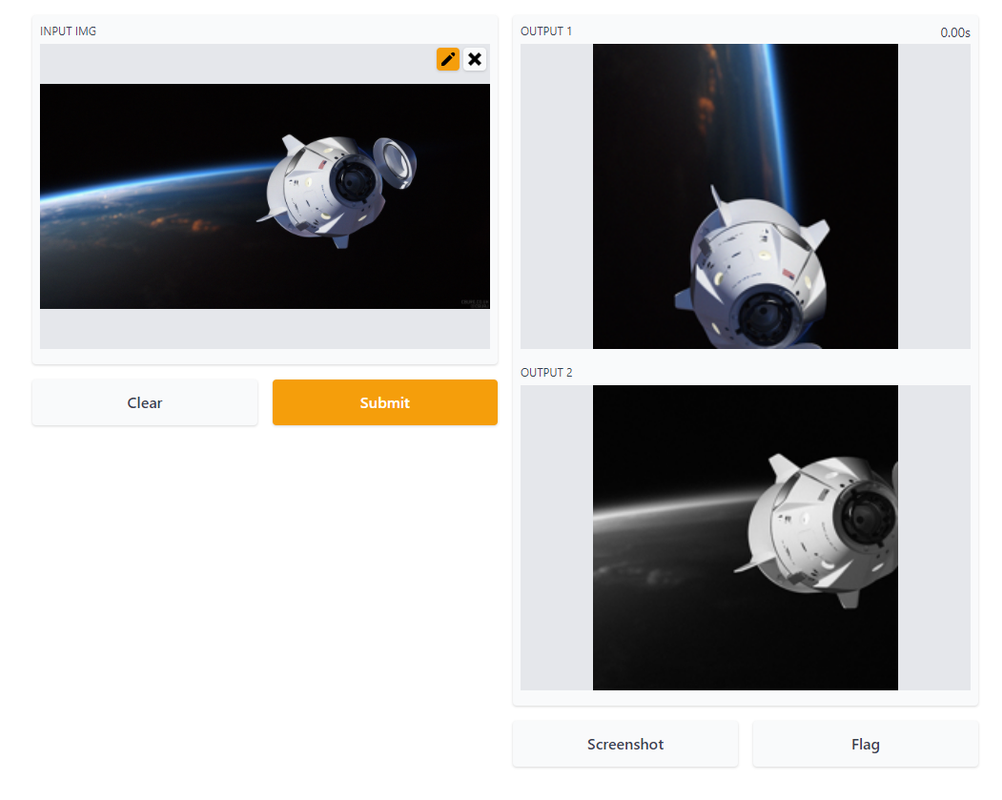
Now, let’s output two images
import gradio as gr
import numpy as np
import cv2

# close all open ports
gr.close_all()

def output_image_operation(input_img):
    rotated_img = cv2.rotate(input_img, cv2.cv2.ROTATE_90_CLOCKWISE)
    gray_img = cv2.cvtColor(input_img, cv2.COLOR_BGR2GRAY )
    return rotated_img, gray_img


iface = gr.Interface(output_image_operation,
                     gr.inputs.Image(shape=(200, 200)),
                     ["image", "image"])

iface.launch()
Now, let’s add some text below the images
import gradio as gr
import numpy as np
import cv2

# close all open ports
gr.close_all()

def output_image_operation(input_img):
    rotated_img = cv2.rotate(input_img, cv2.cv2.ROTATE_90_CLOCKWISE)
    gray_img = cv2.cvtColor(input_img, cv2.COLOR_BGR2GRAY )
    return rotated_img, 'Rotated Image', gray_img, 'Grayscale Image'


iface = gr.Interface(output_image_operation,
                     gr.inputs.Image(shape=(200, 200)),
                     ["image", "text", "image", "text"])

iface.launch()
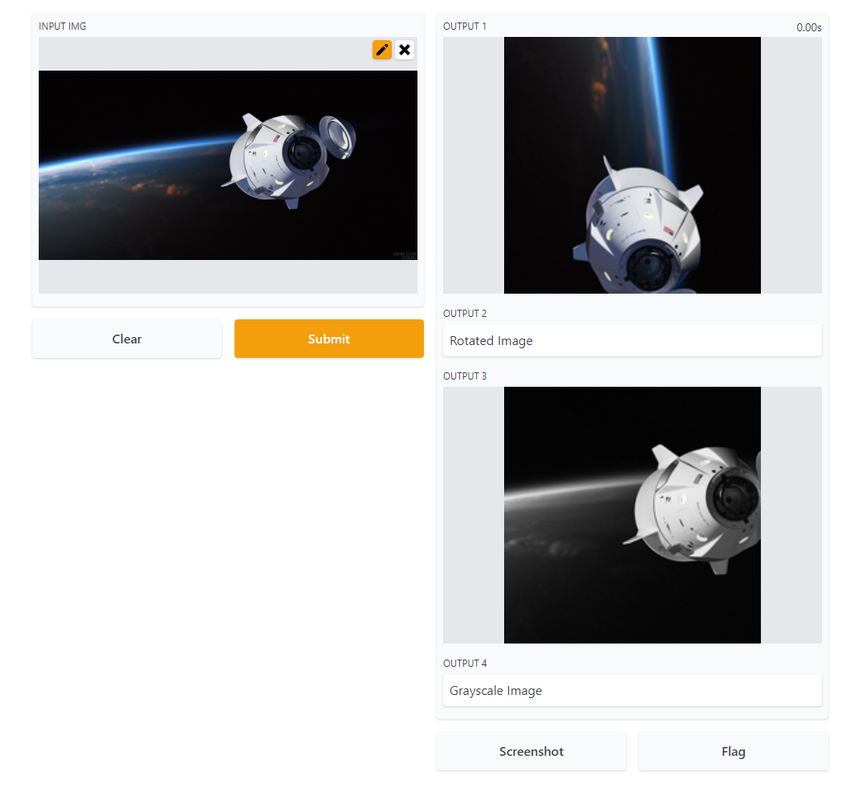
The text is given has OUTPUT2 and OUTPUT3, but I could not find any alternative way to display associated text information. In my use case, I displayed the cosine similarity score in the text field, hence the OUTPUT2 and OUTPUT4 labels were ignored.
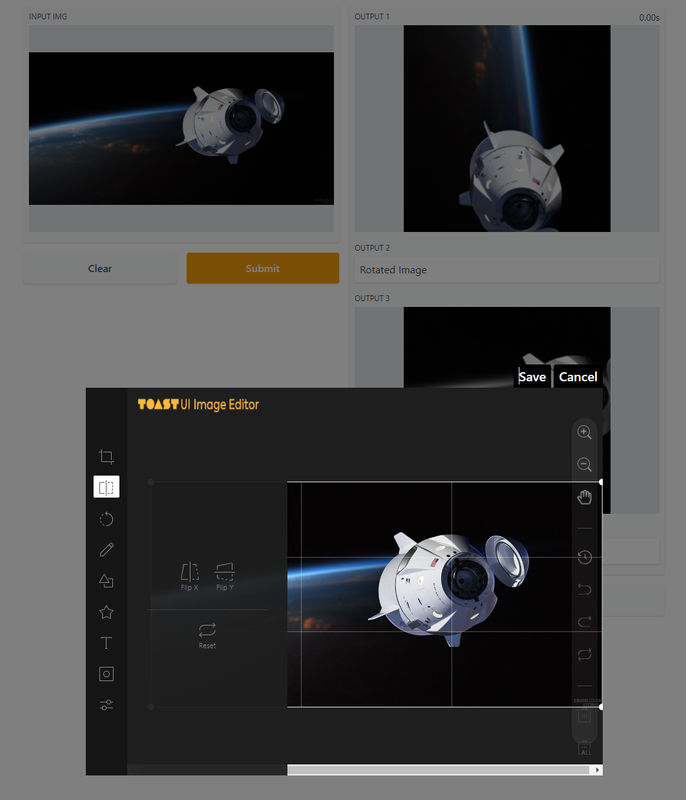
Click on the pencil icon to edit the input image
That’s it for the tutorial. Finally, congratulations to the Gradio Team for joining Hugging Face Team :)
Written on February 1st , 2022 by Karthik